How to resize images in Squarespace
When it comes to blog image and resizing them. There are 3 different ways you can resize your images; 2 of them are non-destructive ways to re-size the image. The other way you can re-size the images is what I call a destructive way of changing the images size.
Using text-wrapping or two image side by site
This is one easy way to resize your images by using text or another image. For instance, if you use text-warping; meaning text goes around the image that makes sense like you see in the mages bellow.
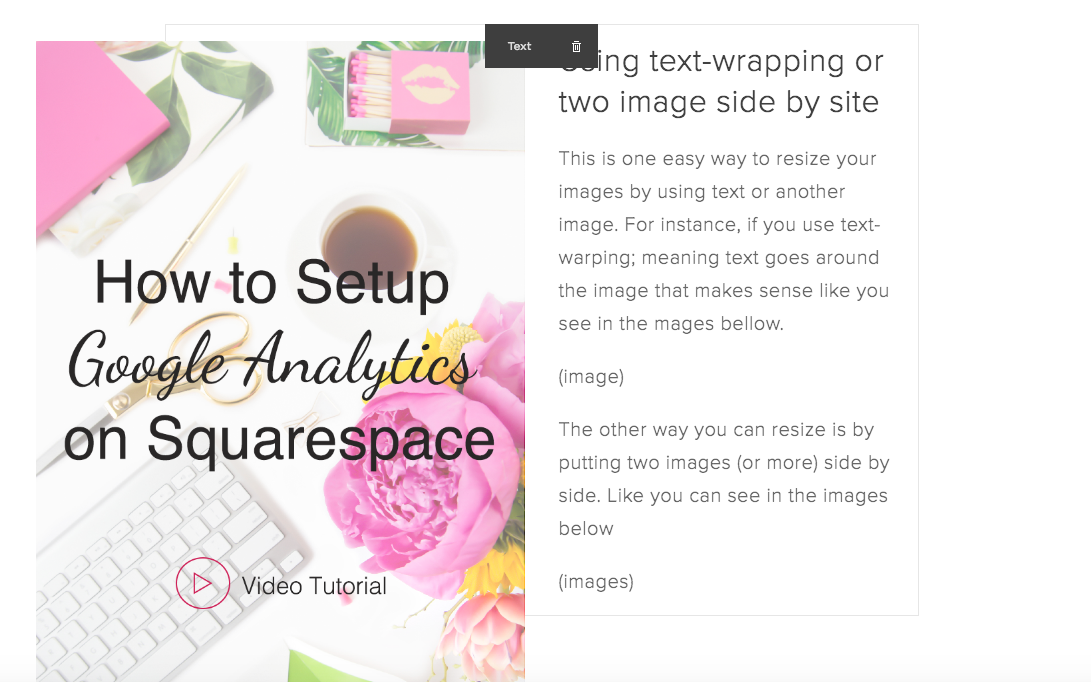
The other way you can resize is by putting two images (or more) side by side. Like you can see in the images below

Using a spacer for resizing images
This meathead of re-sizing your images is common and it is one that I use frequently to resize the images on this blog/website.
First, you want to insert the image where you want to add the image to. Secondly, you want to click on the tear-drop icon where a menu bar appears, where you want to select spacer.

Editing the image with the built-in image editor.
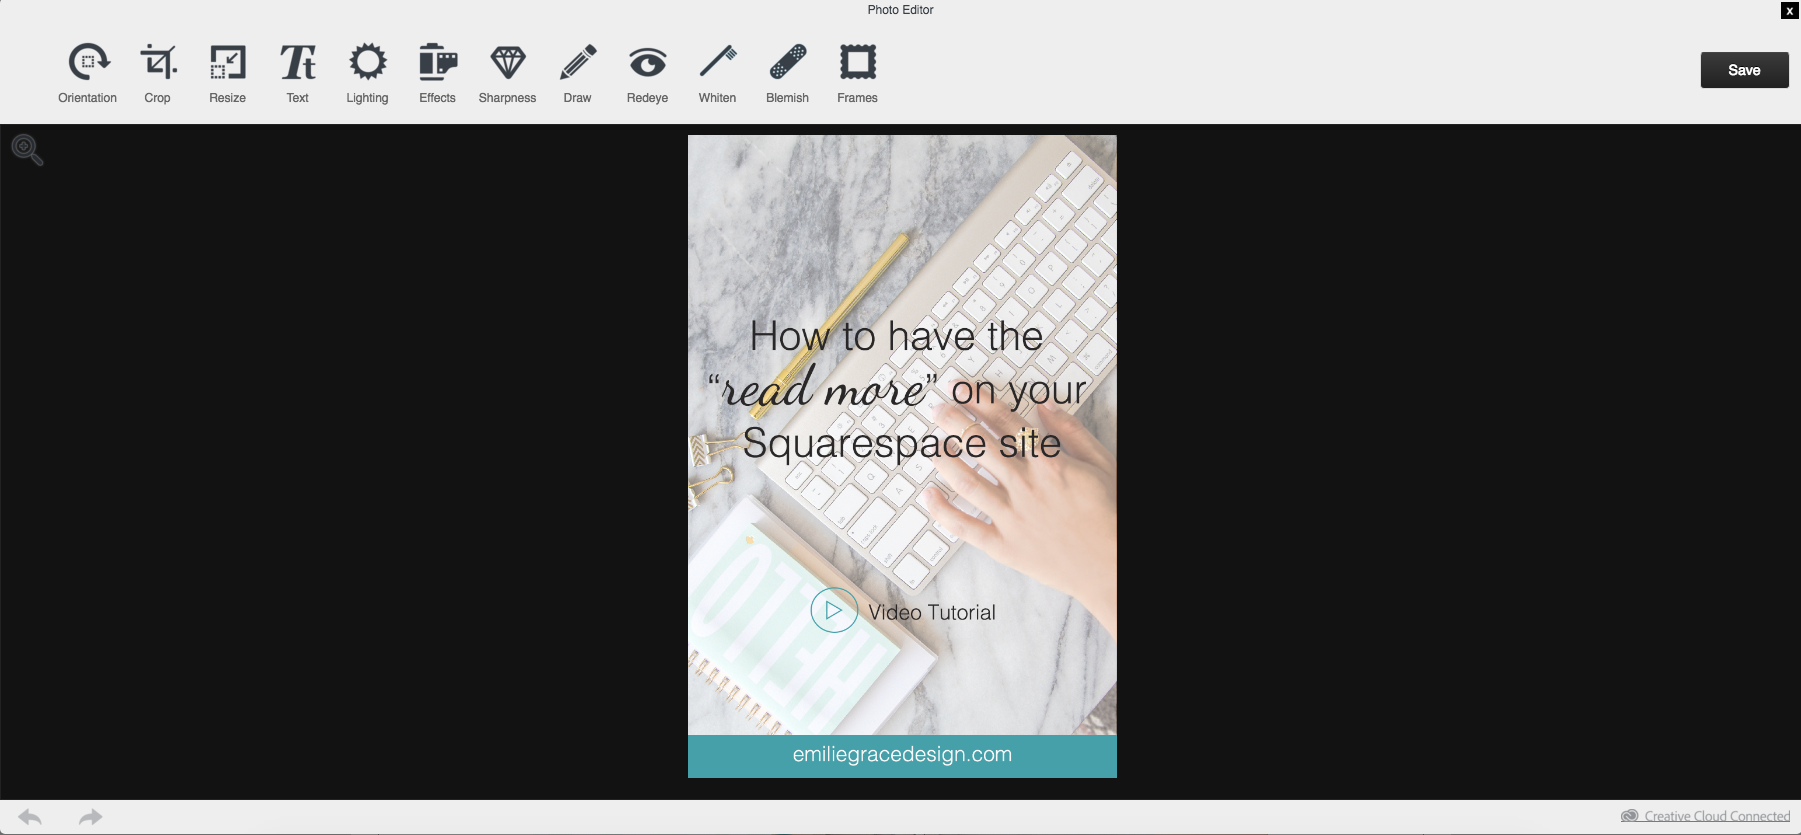
Here is another way you can resize images and edit them as you like. However, I normally don’t recommend that method for the simple reason it can change the quality of the image on your blog.
But if you would like to use it here is how you can re-size the image using the editor. First, you want to have an image already uploaded to your blog/site. By clicking the image on the blog editing, select the “edit” where you can re-size and edit with the built-in editor.
I hope that this was helpful for you when it comes to re-sizing your images on your own blog and website. If you have any question, please feel free to let me know in the comments below.
Leave a Reply Cancel reply
©2016-2023 Emilie Grace Design | emilie@emiliegracedesign.com | Designed by Emilie Grace Design | Powered by Showit | Privacy Policy